 Scaffolding
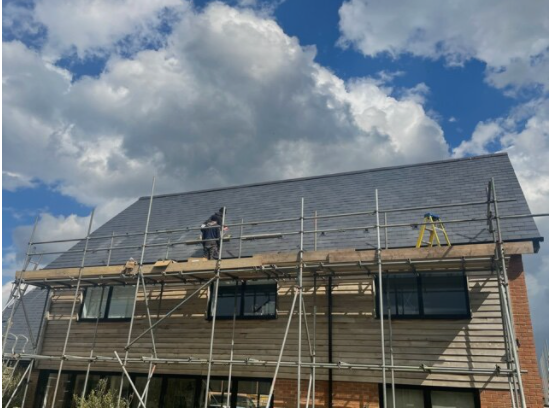
To allow access to work on the roof safely, a scaffold needs to be put in place.
Where possible our roof access contractors can use harnesses that replaces the need for scaffolding on particular roof types.
Measuring and fixing of ‘roof anchors’
The roof anchors attach to the rafters in your roof – not the roof covering.
As this installation was a slate roof we used ‘Solar Limpets’ which enable us to drill a small hole through the slates to the rafters. The solar limpet is fixed into the rafters and the base plate sealed around the fixing. Providing a watertight installation guaranteed for 25 years.
No need to cut sections of your roof coverings/slates/tiles. This is an innovative solution from a British company.
Connecting rails to the roof anchors horizontally Clamping the solar panels to the rails
Now the installation is starting to take shape.
The panels are connected in series, often in 2 separate strings. The DC wiring is then fed into the roof space under the lip of the felt – do not puncture any membrane.
Establish a cable route from the panels to the inverter/battery location.
Feed the DC cables discretely along this route (inside conduit so the wiring is hidden away) to the inverter and battery location.

 Scaffolding

